
Applying a natural finish onto a timber benchtop or dining table
Learning how to apply a natural, yet durable finish to your piece of furniture, is arguably the most crucial skill required in professional woodworking. In the end, it is the finished product that is appreciated an observed once displayed in its eternity in your home. In this post and linked video, I discuss my finishing process for my timber benchtops, which can be applied to any wood project.
Agh, the finishing stage of woodworking. Arguably the most satisfying part of the entire process. I mean, at the end of the day, people buy a piece of furniture for its beauty and visual appeal, so this is indeed for me, the most crucial stage of woodworking. Whether I am working on a beautiful, recycled messmate dining table, or a Spotted Gum timber benchtop, I tend to use the same finishing process. I have found a combination that works really well by keeping the look and feel of the timber; while giving it a really smooth and glass like touch and a really good protective coat.
I’ve experimented with many finishes before reaching this ultimate process which is actually quite simple and cheap compared to other finishes. I believe that is also simple enough for any DIYers to give it a go! I will soon be uploading a video of the process to my Youtube channel, so keep an eye out.
I don’t want to attack other finishes available on the market, that’s not my aim here, yet I simply want to point out why they didn’t suit me and why they may not be a go to option for others either.
Beginning with 2 Pak systems (polyurethane) or even epoxy resin when the piece is purely wood, the final look of the furniture piece unfortunately no longer looks or feels like the beautiful timber that we began with. It feels like plastic, because it is! I guess this is personal preference, but I believe that if you spend so much time woodworking on a beautiful piece of recycled timber furniture, why on earth would we want it to look and feel like plastic in the end? Of course, the huge benefit of something like this is the great layer of protection it gives to your piece, which some may value more than looks and feels. One significant drawback I’ve experienced with these systems, is that when moisture eventually gets underneath your layers, the entire coating will begin to bubble and this not only looks awful, but often calls for a complete strip back and recoat. It is also quite tricky and a skill rich process to get a smooth and shiny finish if you are lacking in experience with these systems.
The next product I want to discuss, before giving youmy procedure, is that of the modern day Hardwax oils that seem to still be the trend in modern woodworking. Products like Treetek Evolution and OSMO oil Polyx give the end user the hope that a simple application of two coats of their product with a pad or a cloth will give you an ultimate finish on your piece of furniture. Yes, indeed they look good, they look great, they are a second choice of mine as they are really easy to use and the process is very time effective. However, they do not feel as good as one would hope upon touch. I have found that, having the oils and wax mixed in the same layer of application, doesn’t all for a glass like smooth and flat finish, but rather leaves inconsistencies as you glide your hand across the table or benchtop. In addition, these prodcuts are quite expensive for what they are, since they don’t actually contain the good old timeless oils used in woodworking such as Tung oil and linseed oil. They are actually made from cheap vegetables oils (Polyx Oil Original 2017.pdf (osmoaustralia.com.au), which I believe do not belong in woodworking! For something so expensive, I would expect it to be made from the highest quality oils, and not sunflower oil and soybean oil. These are highly refined and not cold pressed like a tung oil, so they will go rancid with time. But perhaps the hope is that the wax will stop it from going rancid. I’m not sure, but I’ve decided to stay away, unless I am asked by a client to use them.
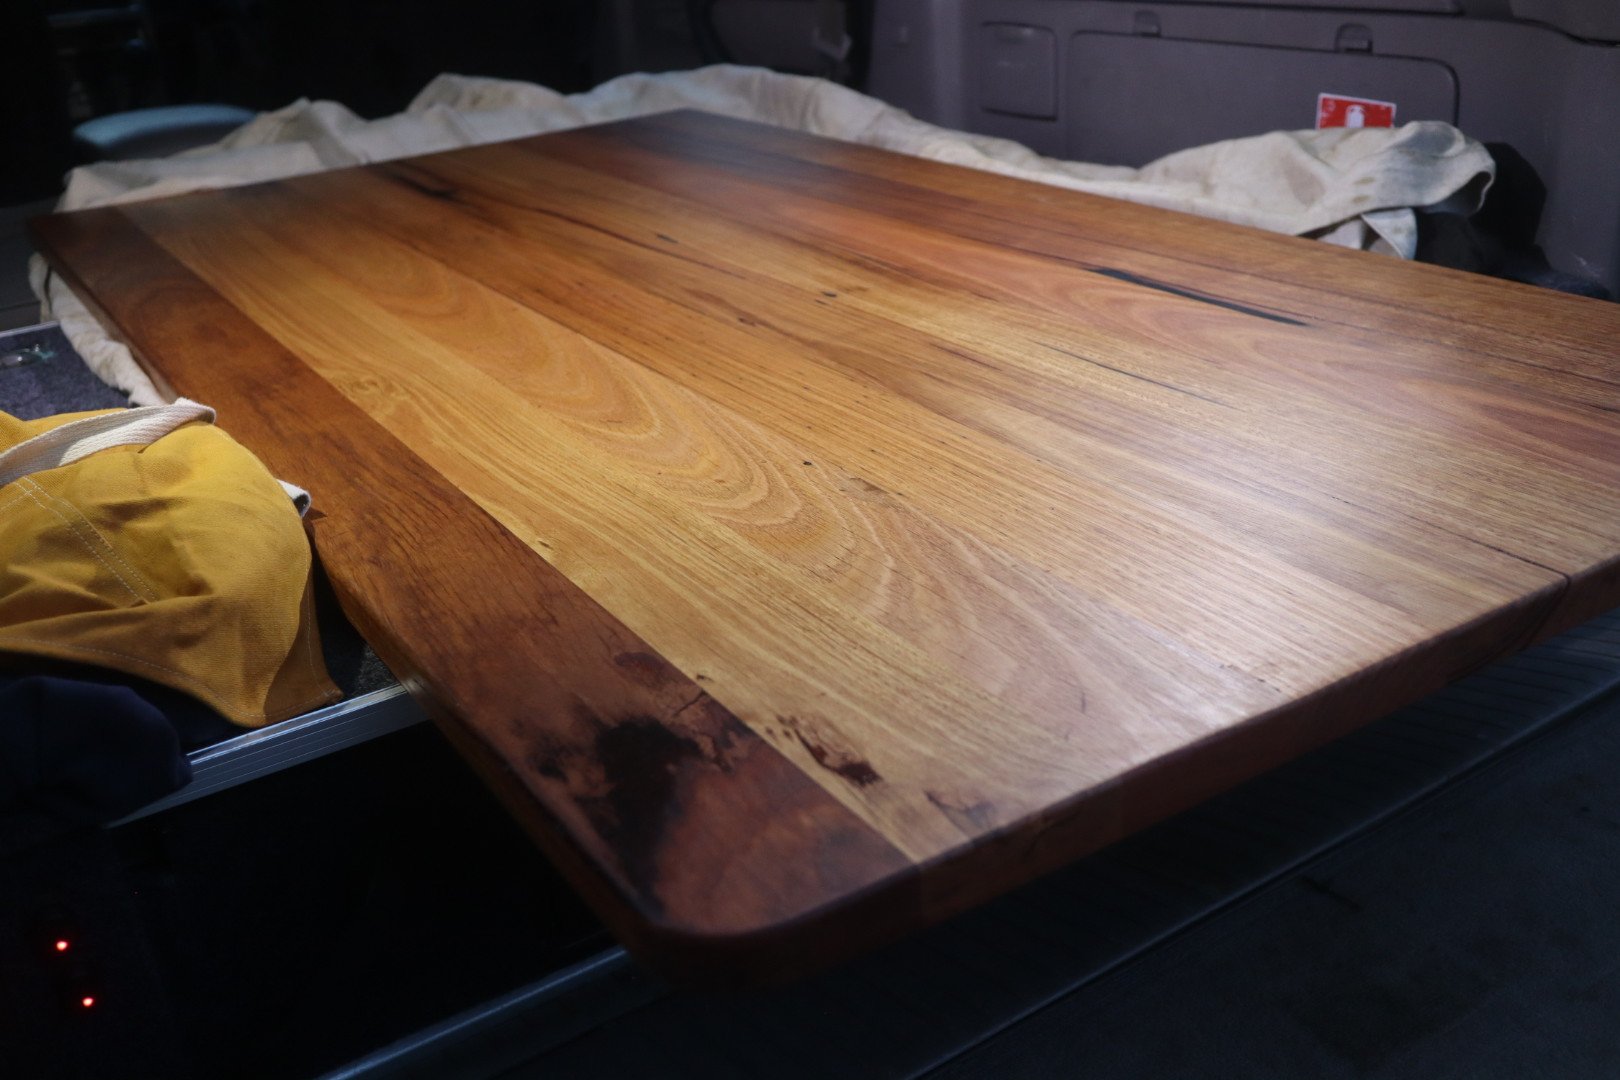
Okay, so now that all that is said, let’s talk about a great finishing process, that will look and feel great, give you a good protection for your piece, and save you money! The product combination I use consists of either Linseed oil or Tung oil, followed by a carnauba Hardwax. These two products are cost effective, and available at most hardware stores or simply on Ebay and Amazon online. However, the process is everything. Beginning with the pure fact that no finish will look any good if your surface isn’t already flat and sanded correctly. I will go into this with further details in my video, but for now, basically know that sanding your benchtop flat to a minimum for 240 grit and filling in all cracks and voids are essential things to do before applying any finish. Once this is done, I will then soak the timber with two coats of oil over a couple of days. Let each coat adsorb into the wood over time before reapplying. You will notice that after two coats, no more dry spots will appear on the wood, which means it has taken as much oil as it can. Also, crucial note, make sure you do coats on each side at the same time or close together, to avoid any movement from non- sealed timber. I now process to use a microfiber cloth to wipe all excess oil from the piece. Once you have reached this stage, it is now time to wet sand the oil into the tabletop and seal off any open cracks or pores to give it a glass like smoothness. To do this, you will need some wet sandpaper, also readily available at your local hardware store, usually in the painting section. With your wet sandpaper of the same grit in which you finished your dry sanding, use your orbital sander to sand the entire piece until it all feels completely smooth. I will then apply a coat of Carnauba Hardwax, either with a glove or a scratch free pad, and let it sit for about an hour or so. I will then use a lambswool or foam pad to buff the wax and polish it to a semi-gloss finish. I will typically use two coats of wax, so the first buff isn’t so crucial, but you still want to make sure that the wax is spread thinly and evenly across the surface. After applying the second coat and leaving it for 1-2 hours, I will then get the lambswool onto my variable speed polisher and polish the piece until I am happy to the consistent lustre and shine that I am looking for. And there you have it, a cheap, simple and great looking finish you can now use on any piece of furniture.
I hope this has been helpful and informative. I like to be transparent in my manufacturing process, so that you, the potentially buyer, understands the layers of work and care that go into your custom piece of furniture. I also think that with the right knowledge, more people will be willing to give woodworking a go. Even if it is simply restoring a piece of furniture you really love! Please don’t hesitate to contact me with any queries or advice. Until next time, goodbye.
Darrell Ryan,
Professional woodworker.